How To Add Custom Domain In Blogger – bigrock, Hostgator 2024
If you want to know how to add Hostgator domain to blogger or how to add custom domain In blogger, then you should see this post completely, in this you have been told how you can add Hostgator’s domain to blog post.
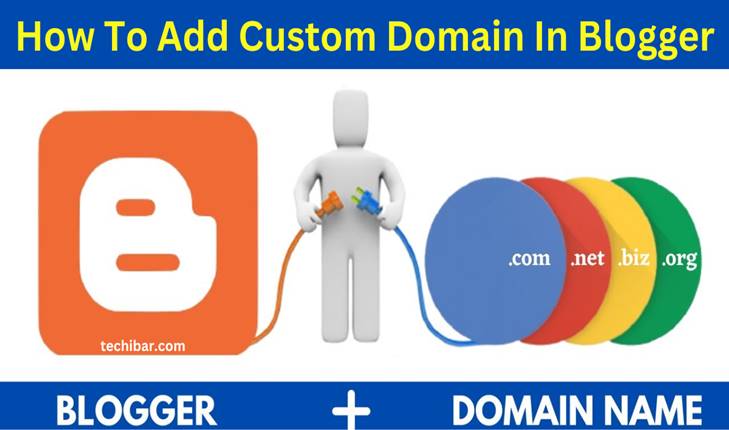
How To Add Custom Domain In Blogger
If you are a blogger, then you should know that it is very important to have a custom domain for your blog. Most new bloggers start blogging from Google’s blogger.com, but some people start their blogging without custom domain and work on blogspot domain.
If you are also learning login, then you can work on subdomain, but if you want to do blogging, want to make a career in blogging, then you must put a custom domain instead of a subdomain. There are many companies to buy domains that provide you domains at cheap prices.
So here I have bought a domain which is bought from Austringer and I got this domain on offer for ₹ 70 but if you want complete information about the domain then you can read this post till the end. In this you will get all the information about the domain.
Read Also –
- 7-Best Web Hosting For WordPress
- How To Add Multiple Admins To Facebook Page
- How To Add New Place In Google Map
How To Add Hostgator Domain To Blogger
So let us know How To Add Hostgator Domain To Blogger, for that you have to follow some easy steps.
NOTE- If you have the domain name of some other company, then you can follow this step. Because except Godaddy. Bigrock Namcheap all other company have this option
1. First of all, you have to login to your account by opening Hostgator’s website and you have to click on my account next to it.
2. Now you have to move your mouse over the domain and by clicking on the list/search order you have to come to your domain.
3. Now you have to click on your domain which you want to connect with the browser
4. Now a new window will open in front of you, you have to go to the bottom of this page and there click on Manage DNA in the option of DNS Management.
5. Now you have to open your blog on your blogger and click on setup a third party URL for your block under the subdomain in the publishing setting under the basic setting in the blog address setting.
6. Now you WWW. Type in your domain with . And after that you have to click on the save option
7. After this you have to come back to your Hostgator and a popup window will open in it. You have to click on CNAME Record in it and click on Add Cname Record
8. And after that you have to come back to your blogger. there first copy the host name
9. And go to hostgator and paste the host name in the host name.
10. Then you have to come back to blogger and copy the target
11. Then back to hostgator select the second option of value and paste your target and click on add record
12. In this way, you have to copy the other host name and target from blogger and add it to Hostgator. You then have to click on add record and copy paste
13. Now you have to come back to your blogger and here you have to click on the setting instructions option.
14. Now a new page will open in front of you, you have to go to step 3 in it, in this you will be given 4 IPS, you have to add it to your hostgator’s record. Now copy the first IP from here
15. Now you have to come back to Hostgator and click on A Records and click on add record
16. After this, you have to paste the copied IP in the destination ipv4 address and click on add record.
17. Similarly, you have to copy all the four IPS of Google and add them to A Recorder in Hostgator.
18. You have to come back to your blog and save your domain
Note – It may take some time for the domain records to be added. So you wait for about 5 minutes then your domain will be saved
19. When you will get the domain here, then again you have to click on the edit option shown next to it.
20. And as shown below, select the check box in front of Ray Direct and click on the Save button.
21. With this setting, your domain will open even without www and if you do not select it, then you may face many problems in future.
So friends, in this way you can add Hostgator’s domain to your blogger, here I have tried to give you complete information, so this post has become big.
FAQ’S –
Q1. How Do I Host My Own Blog Domain?
Ans. First of all you have to create a blog on your domain.
- After creating a blog, open Google Domains on your computer.
- Now you need to sign in with the Google account you used when you purchased your domain
- You have to click on the domain name you want to manage.
- Open the menu. ,
- You have to click on the website
- And now click on Continue under “Blog powered by Blogger”. Start with Blogger.
- And it is very important for you to follow the instructions given on blogger.
Q2. How Do I Add A Custom Domain?
Ans. First, log in to your domain registrar account, wherever your domain is (e.g., GoDaddy, Hover, NameCheap, Google Domains), then locate the DNS settings or management page for your custom domain.
And click on the pencil to view and edit the existing CNAME record for www. And note that if there is no existing CNAME record for www, then click on ‘Add’ and select the CNAME option.
Q3. How Do I Activate My Custom Domain?
Ans. You need to set up a custom domain
- Now you have to go to Settings.
- After going to settings, click on custom domain.
- Now click on Start Setup.
- Now lastly you have to enter your domain.
Conclusion –
So friends, I hope you have liked the information given in this blog post of mine. that How to add custom domain to blogger and how to connect hostgator custom domain to blogger.
Friends, in the same way you can add Bigrock, Namcheap other domains, friends, if you like the information, then share this post with all your friends and do not forget to comment, we will be happy, thank you
Read Also –